Why Fabric Frays at the Cut Edge
Why fabric frays at the cut edge depends on its weave and cut direction; learn which simple finish suits the cloth and keeps loose threads in check.
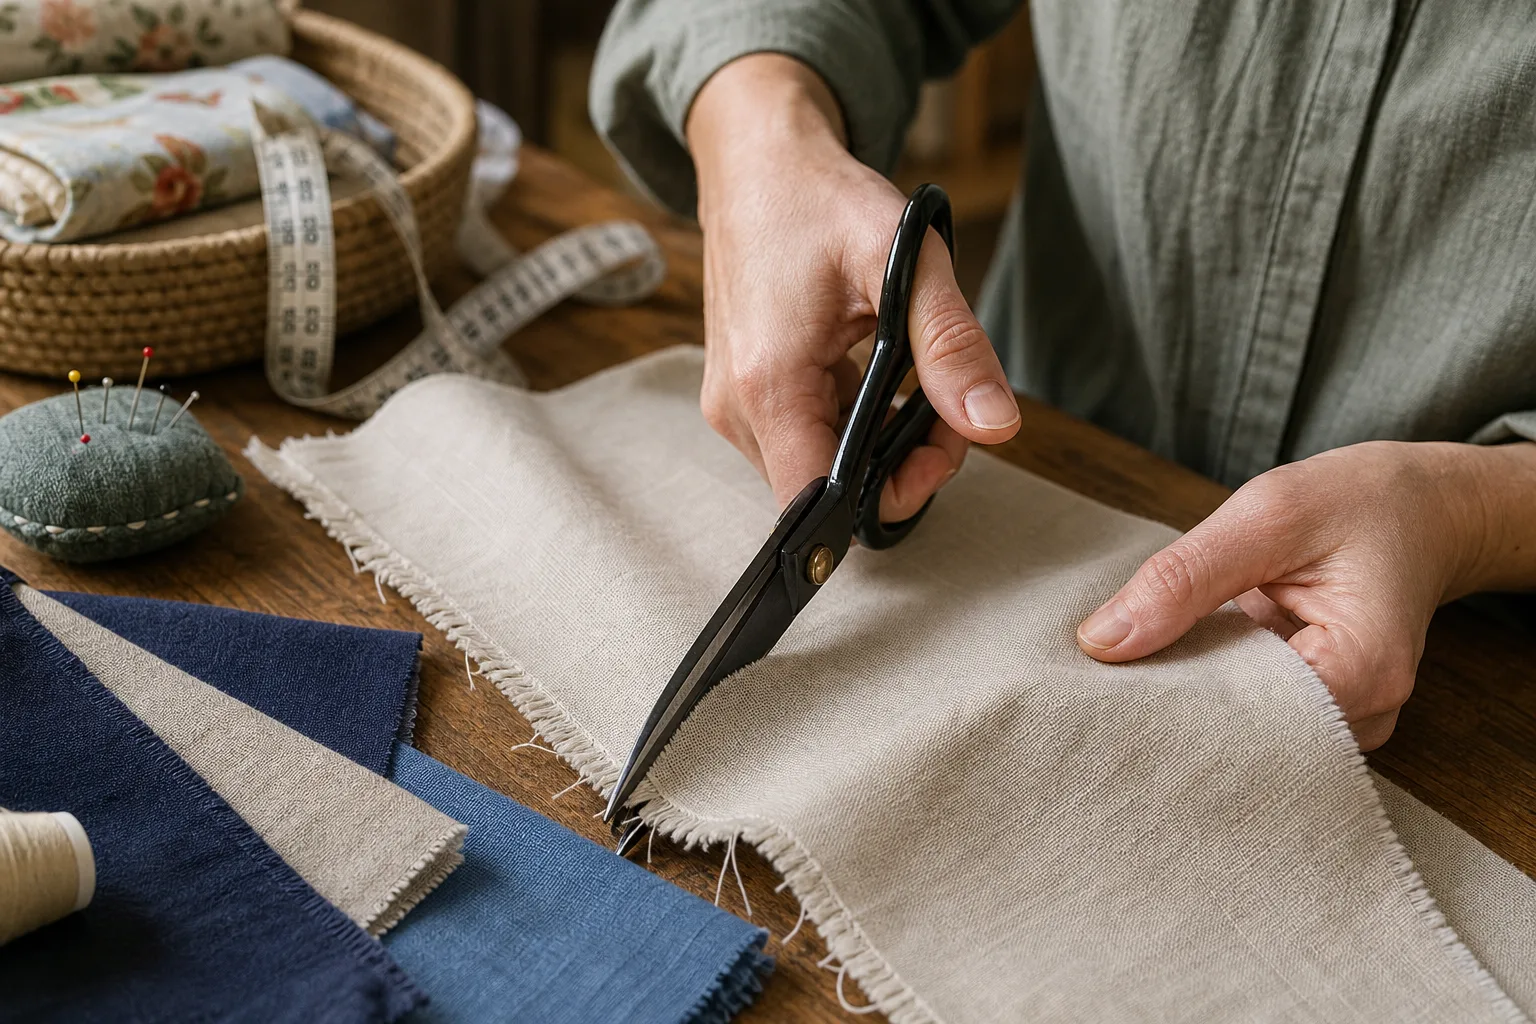
Why fabric frays at the cut edge depends on how its threads cross and which way the scissors cut them. A clean edge on cotton poplin can unravel quickly if left raw, while a loosely woven cloth may begin shedding threads before you have finished handling it.
Fraying is not a flaw in the fabric so much as a consequence of cutting through its structure. The useful question is how much the edge will be handled, washed or left visible, then choosing a finish that suits both the cloth and the job.
Woven threads escape where the cut interrupts them
Woven fabric is made from lengthwise threads, called the warp, crossing widthwise threads, called the weft. The edges running parallel to the warp are the selvages; they are usually more stable because the fabric was constructed to keep those sides from unravelling. A cut edge across the cloth interrupts both sets of threads, leaving short ends free to work loose.
Knitted fabric behaves differently. Its loops can run or ladder when cut, depending on the knit and the direction of the cut. Some knits curl at an edge rather than shedding a fringe. Non-woven materials such as felt have no woven threads to release, although their cut edges can still look rough or shed fibres.
On a woven cloth, the more loosely the threads cross, the more room they have to shift. A dense, balanced weave usually holds its shape better than an open weave, but it is not immune to fraying. Repeated folding, pulling and washing can loosen even a neat edge.
For a quick diagnosis, look at the edge in good light and tease it gently with a fingertip. If individual threads slide out readily, treat the cloth as prone to fraying before you sew or assemble it.
Cut direction changes how much the edge moves
A cut made across the grain crosses the warp and weft threads at close to a right angle. It leaves many short thread ends exposed, but the fabric is often relatively stable along that line. A lengthwise cut, parallel to the warp, also exposes threads; its behaviour depends on the weave, the cut’s placement and how much tension the piece will take.
The bias runs diagonally across the grain, usually at about forty-five degrees to the warp and weft. It stretches and drapes more readily because the woven structure can shift along that diagonal. Bias-cut edges can distort while they are handled, making them especially awkward to finish if the cloth is light or slippery.
These are tendencies, not laws. A tight twill, a loose gauze and a crisp plain weave will not respond identically, and a fabric’s finish can alter how readily its threads move. If a pattern specifies a grain direction, follow it; changing direction can affect both fit and edge stability.
Before cutting the whole piece, mark the grain with a ruler and check that the pattern or template follows it. Keep bias edges supported rather than letting them hang while you work.
Loose threads usually point to a specific handling problem
Sometimes the fabric starts fraying as soon as it is cut. This often means the weave is open, the cloth is loosely finished, or the scissors have pushed and distorted the threads instead of cutting them cleanly. Dull blades can make matters worse by catching yarns and drawing them out.
Try sharp fabric shears or a rotary cutter on a self-healing cutting mat. Keep the cloth flat, avoid lifting it during the cut, and use long, steady strokes rather than repeatedly nibbling at the edge. For a small repair or an awkward curve, sharp embroidery scissors can help, provided they cut cleanly all the way to the tips.
A rough edge that worsens during sewing may be caused by dragging the fabric under the presser foot or pulling it through the machine. Support the piece on the table and let the feed dogs move it. If a seam allowance sheds threads, trim only the loose ends; cutting deeply into the allowance can weaken the seam.
If the edge twists or grows wavy, especially on the bias, the cloth may have stretched during cutting or handling. Lay it flat to rest before trimming again, and avoid trying to force the edge back into shape with steam unless the fabric’s care instructions allow it.
Simple finishes trade speed for durability
The best edge finish depends on whether the edge will be hidden, visible, washed or subjected to pulling. A quick method may be enough for a temporary prop; a frequently laundered garment needs a more durable finish. Choose the least complicated method that meets the likely wear.
- Pinking shears: Their zigzag cut can slow fraying on some closely woven fabrics by shortening the exposed thread runs. It is quick and needs no sewing, but it is not a dependable finish for loose weaves or edges that will be washed and handled repeatedly.
- Overcasting by hand: Work small, even loops over the raw edge with a needle and thread. This suits small pieces and repairs, though the result depends on keeping the stitches close enough to contain the edge without puckering it.
- Zigzag stitch: Sew along the edge so the stitch swings over it. This is useful on many woven fabrics, but set the width and length to suit the cloth and practise on a scrap first; a stitch that pulls the edge into a ridge is not helping.
- Overlocker: An overlocker trims and wraps the edge with thread in one pass. It makes a neat, efficient finish for many fabrics, but it requires the machine and its thread tensions to suit the material.
- French seam: Enclose the raw edges inside a narrow seam. This gives a tidy finish for light woven fabrics, particularly where the seam will show inside, but it takes more cloth and is less suited to bulky materials or tight curves.
- Bias binding or seam tape: Cover the edge with a strip of woven tape. This is useful when the edge will remain visible or needs reinforcement, though bulky tape can stiffen a delicate piece.
For a hidden seam allowance, a zigzag stitch or overlocker is usually a practical choice. For a visible raw edge, consider binding it or designing the edge to be enclosed rather than hoping the fabric will behave out of politeness.
Choose a finish that matches the cloth?
Do pinking shears stop fabric from fraying?
They can slow fraying on some stable, closely woven fabrics, but they do not seal the threads. For loose cloth, frequent washing or an edge that bears strain, use a stitched or enclosed finish instead.
Should I finish the fabric before sewing?
Finishing a cut edge before assembly helps prevent loose threads from entering seams or snagging during handling. If the seam will enclose the edge completely, a separate finish may be unnecessary, provided the cloth is stable enough to sew without unravelling.
Is a bias-cut edge more likely to fray?
Bias edges are more likely to stretch and distort because the weave gives along the diagonal. That movement can encourage threads to shift, so support the edge and finish it promptly rather than leaving it hanging loose.
Can fabric glue keep a raw edge tidy?
Fabric glue or a liquid seam sealant can suit a small craft piece, but it may stiffen or discolour some materials and may not tolerate washing. Check the product instructions and try it on a scrap before applying it to the finished work.
Use a scrap to settle the choice
Say you are making a small cotton pouch from a loosely woven remnant. The first cut leaves a few threads sliding out, so you switch to sharp shears, keep the cloth flat and cut a scrap in the same direction as the pouch pieces. Then you sew one edge with a zigzag stitch and another with a narrow French seam. The zigzag is quicker, while the enclosed seam leaves the inside cleaner; for a pouch that will be handled often, you choose the finish that contains the loose threads without making the fabric bulky.
This is a small comparison, not a reason to sew a full sample garment. A narrow offcut can tell you whether the stitch puckers, whether the cloth shifts and whether the finish survives the handling you expect.
For fabric that frays at the cut edge, the useful sequence is simple: identify the weave, check the cut direction, make a clean cut and select a finish suited to the edge’s job. Keep the offcuts until the finish is settled; they are often more helpful than another attempt to persuade a raw edge to stay put.